
Wallpapered
Custom Wallpaper Murals for Homes & Businesses
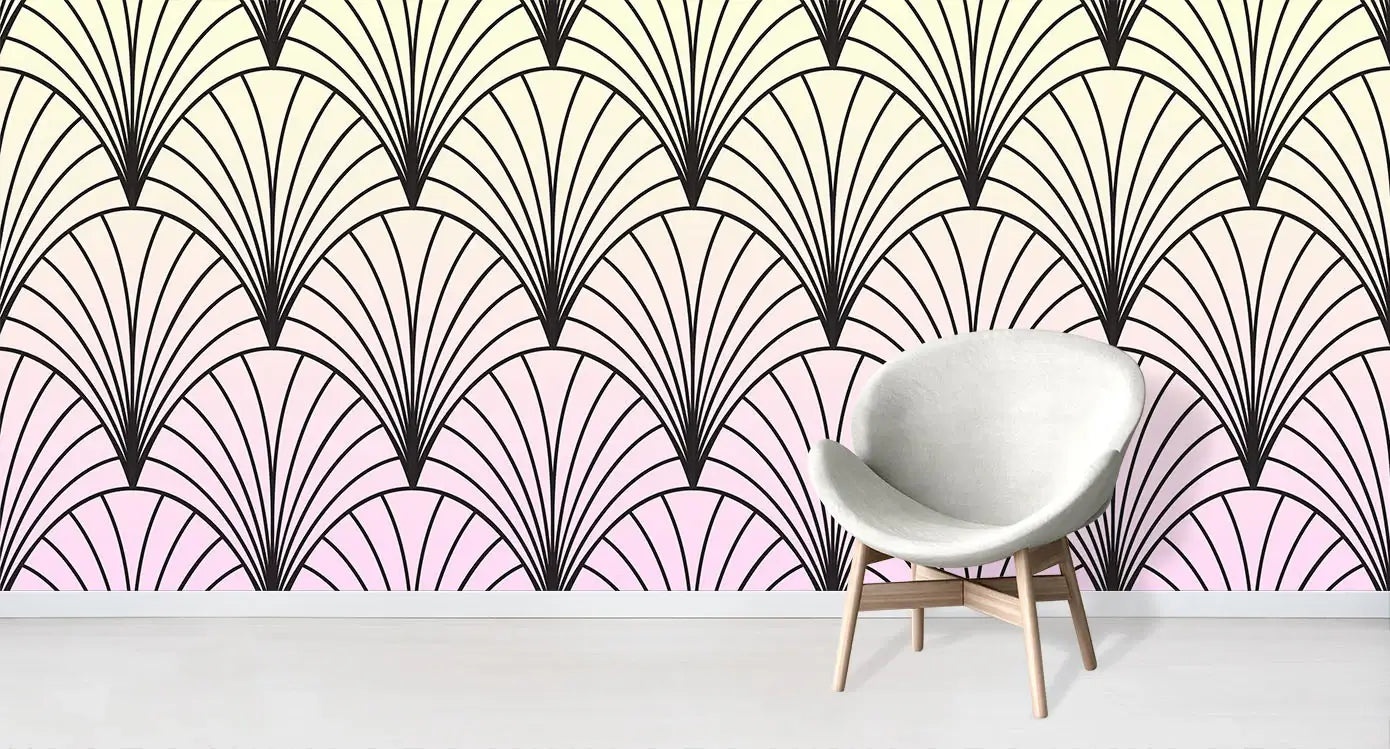
Elevate your interior with our custom wallpaper
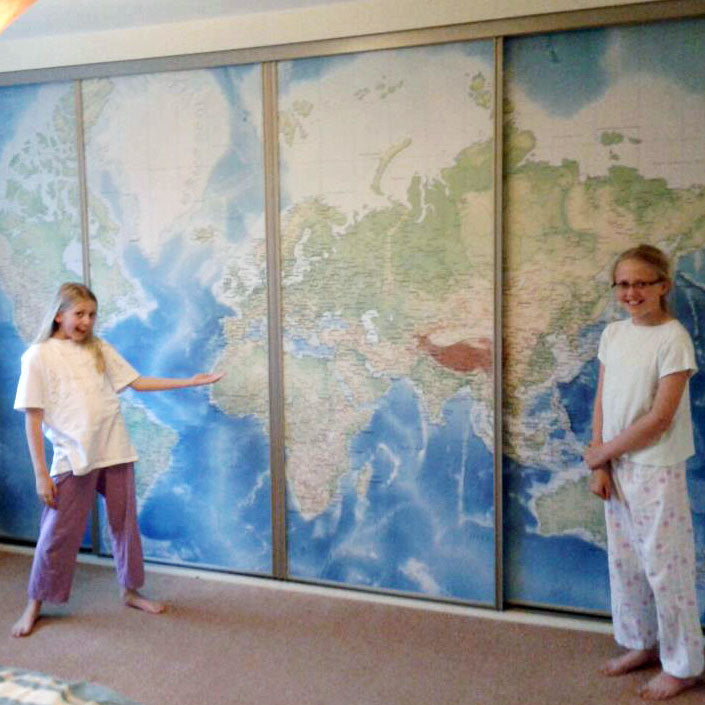
World Map Murals
-
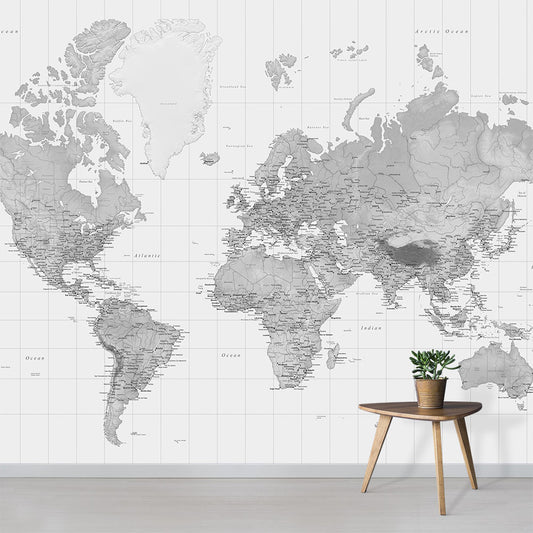
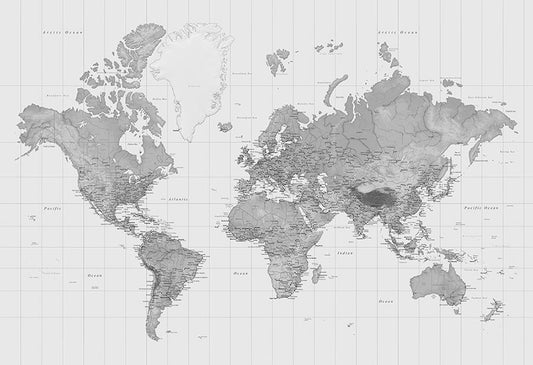
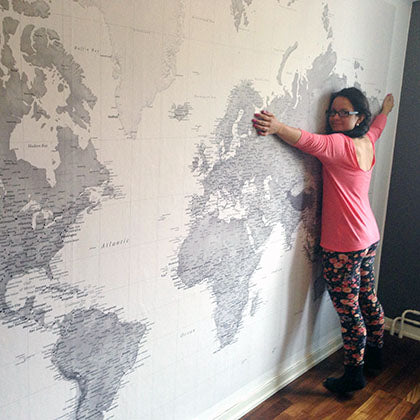
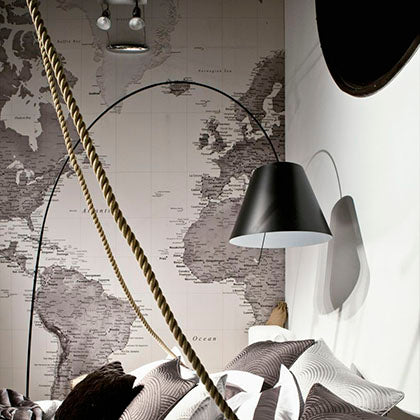
Black and White World Map
Classic Black and White World Map Wallpaper
-
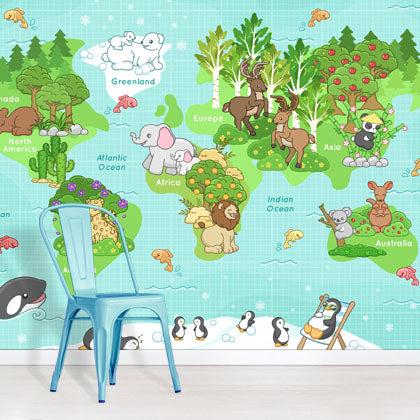
Little Explorers
Illustrated Animal Map
-
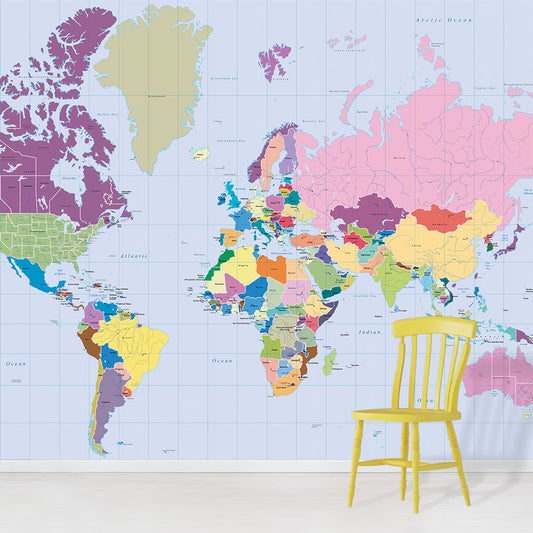
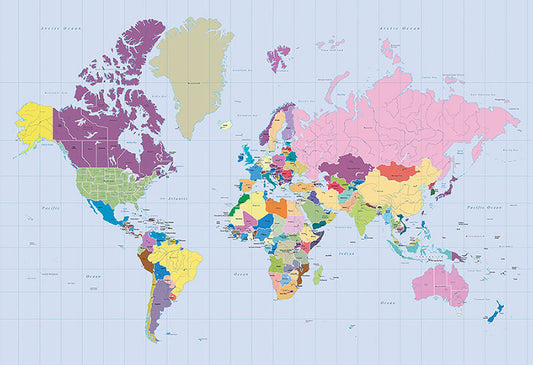
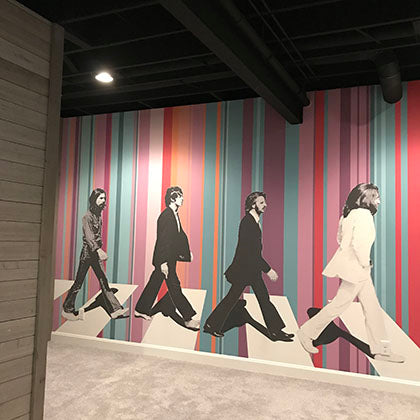
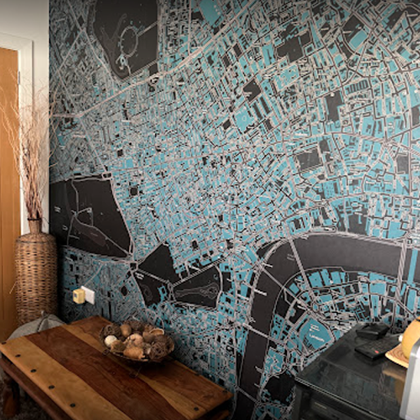
Vibrant World Map
Bold Colour Map Design
-
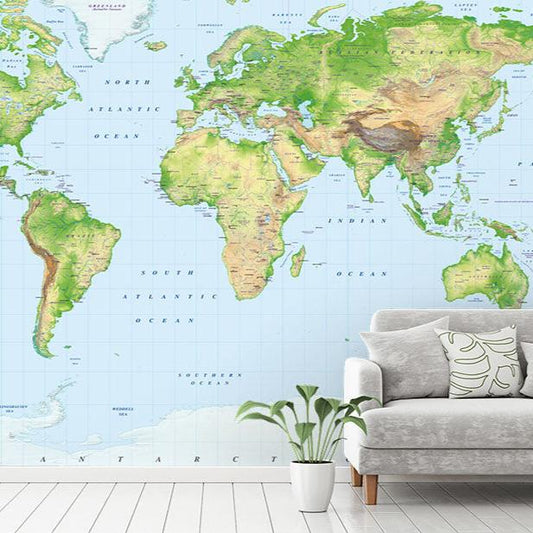
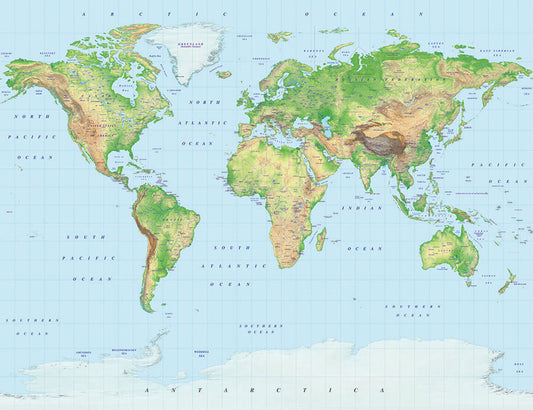
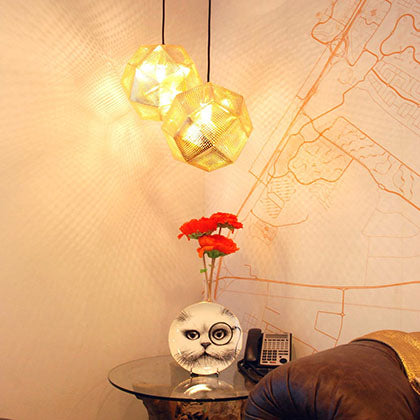
The Explorer’s Wall
Classic Atlas Style Map


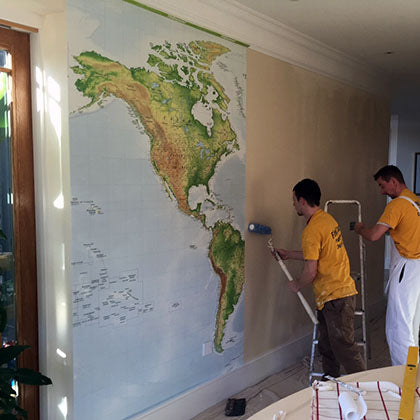
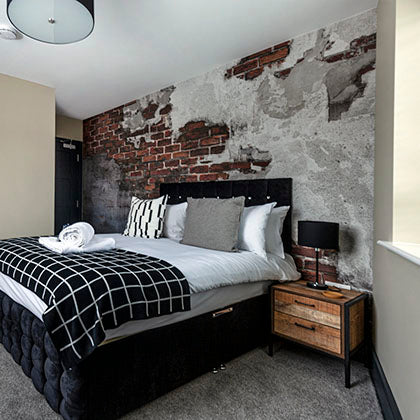
Beautifully Printed Custom Wallpaper
We offer stunning wallpaper murals, custom printed to your wall size.
Choose from a curated selection of exceptional designs to help you create an interior space that feels uniquely yours.


Let customers speak for us

Great service from Wallpapered. They managed to produce exactly what we imagined. The paper was printed in sections which made it easy to hang. Good instructions and the finished result is wow. Highly recommend.

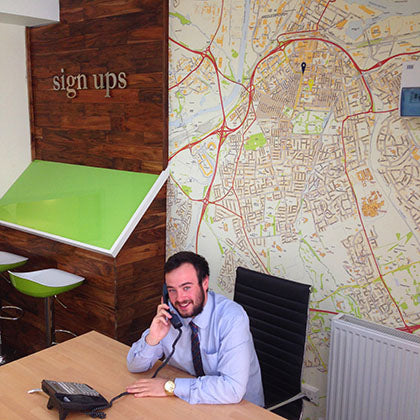
I've had a consistently good service whenever I have ordered Map wallpaper for an estate agent client. Good quality product too. Highly recommend.

Kat was so helpful in getting this beautiful wallpaper many thanks
Excellent quality. Looks brilliant. I love it.

I have long wanted a wall like this so am now very happy it is finally up!

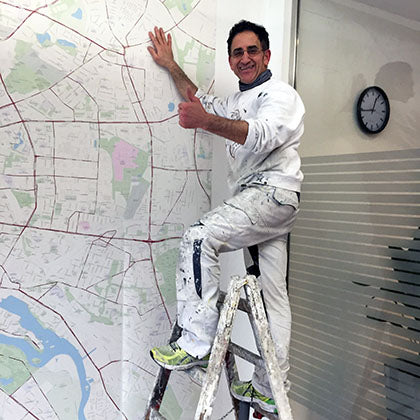
I wanted a feature wall on my staircase and love maps. Asked for a 2mile radius of my postcode. I cant stop looking at it! My teenage boys think its really cool. Instructions were easy to follow and it was on the wall in under 2 hours.

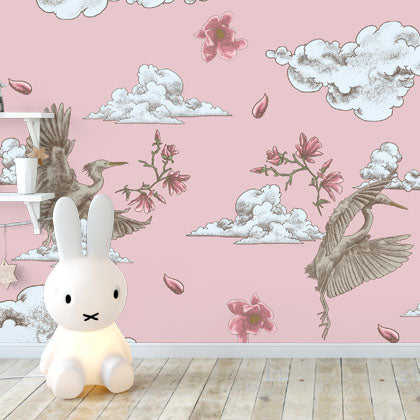
I fell in love with this Nikole Lowe design the minute I saw it and ordered as soon as I had measured up. I didn't trust myself to put it up so got a professional in to do it for me. They were so impressed with the quality of the paper and said how easy it was to work with. It looks incredible and has transformed our living room. WE LOVE IT!

The wallpaper is beyond beautiful, I feel like Im in the clouds when I walk into the room. It is magnificent

Superb design and great and fast service.
I highly recommend Wallpapered.
Thank you :pray::skin-tone-2:

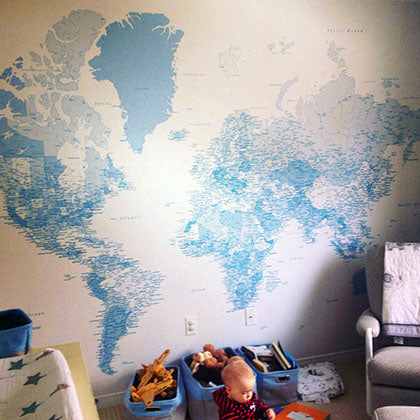
We bought this wallpaper for our little boys nursery and couldnt be happier with it. Our decorator said its the best quality paper hes ever used and it looks incredible on the wall! We will definitely use this site again! Thank you!
This company are brilliant. I couldn't recommend them enough.
They were so super helpful with my request for the mapping wallpaper. I wanted a specific area to cover the Lake District and the Dale's and they advised me with sizes and chopped and changed my area until I was happy with it. The price was great for what you get. Great quality, thickness and super easy to hang. If i could I'd have all my walls mapped. I will be buying some more in the future. Thanks.

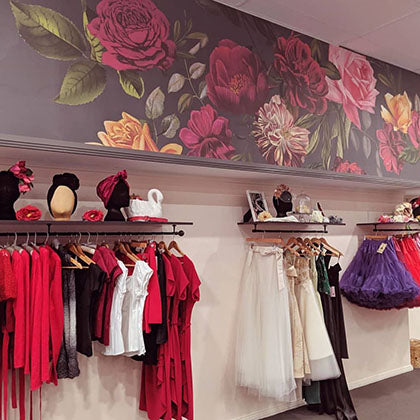
I had this design custom coloured with a charcoal background to use as a feature in my boutique. I absolutely love the end result and it really completes the look of the store. There were a few issues with the initial print due to the somewhat awkward proportions of the long narrow wall however the Wallpapered team provided absolutely wonderful customer service and worked hard to deliver perfection for the second print.
The install went very smoothly and as described the paste the wall technique made things much easier.
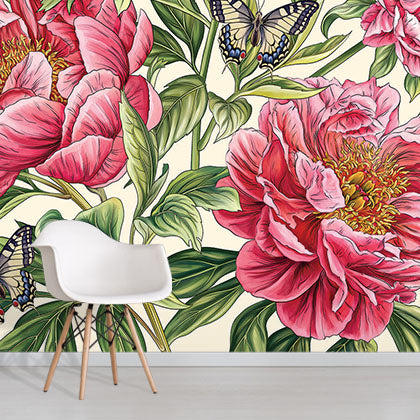
I am so happy I chose to work with Wallpapered and I LOVE my giant roses that greet me and my customers in store. Wish there was space to post a photo here but they have shared it on their Instagram if you want to see :kissing_heart:

Ive been looking for world map wallpaper for quite awhile. The fact that we could choose the size we wanted made Wallpapered the perfect choice. It was very simple to hang, and it looks beautiful on our wall. It has transformed our home office. I cant wait to place the pins on the countries to which we have traveled.

We ordered a B&W 2mX4.3m World map mural. The order was filled prompmtly and arrived in Canada in perfect condition. We had it installed in the entrance foyer, it looks marvelous. Only one draw back, most visitors stop at the entrance marveling at the map and studying geography, takes them forever to make it into the main part of the house.
We are very happy with the map and the service wallpapered.com provided.
Matt
Top quality service. Quick delivery. Excellent communication
Would definitely recommend